Let's begin with vehicles. In the time-frame I'm modeling (1981), the various Warsaw Pact militaries had yet to begin applying camouflage to their armor or softskins. Everything was painted an overall green. Which green depended on which country. Every WarPac army had it's own version, which is handy, as it helps me identify different minis on the table. The East Germans used a fairly bright green, Panzer Olivgrün (RAL 6003):
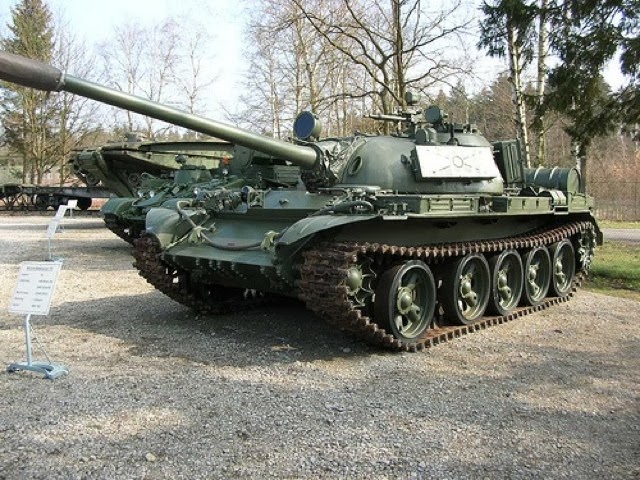

Luckily, no agonizing paint mixing is necessary. Model Master makes the exact shade and it even has the same name! Of course, the above photos are from a museum that keeps the vehicles freshly painted. I apply a black wash after the olivgrün to represent the coating of dirt and grime every vehicle has in the field. For black washes, I much prefer to mix it using an enamel. Mine is 1:1 Humbrol Black (#33) and good old paint thinner. I then lightly drybrush the vehicle with Vallejo Khaki Grey (#880).
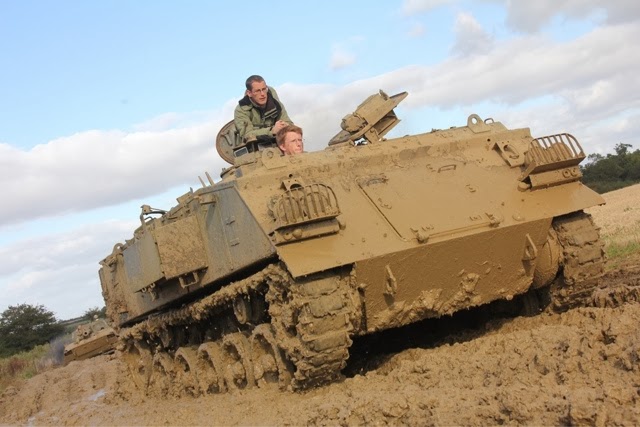
Tracks are a point where Eastern Bloc vehicles differ from their western counterparts. Steel made in the West has a high iron content and so when it rusts, we see the light burnt orange "rust" color that we're all familiar with. However, Soviet-made steel (and also that made in other WarPac countries) was/is quite high in molybdenum, the rust from which is a much darker brown or burnt sienna color. Luckily, Vallejo makes the perfect shade in its Panzer Aces line. It's called Dark Rust (#302). After I paint the tracks with it, I liberally dry-brush them with Vallejo Oily Steel (#177) and then even more liberally with a Stone Mountain Miniatures Colors Paint called Mud (#C57). It's really a great line of paints, especially the different earth colors. I dab the lower half of the vehicle with this mud paint. If you have ever seen armored vehicles going cross-country, you'll know why:
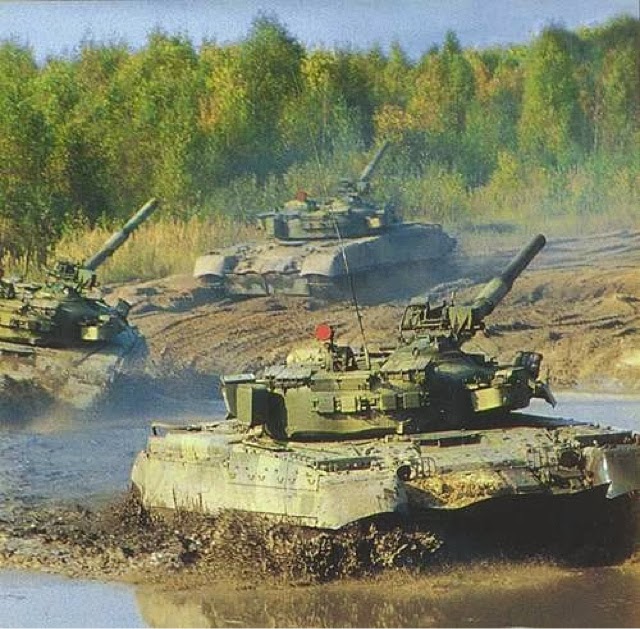
Any vehicles with tires, I use Vallejo Panzer Aces Dark Rubber (#306) and all windows and windshields get Vallejo Black Grey (#862). Any headlights or searchlights each get a dot of silver. Infrared searchlights get a dot of Vallejo Game Color Ultramarine Blue (#022) and then (for 3mm) I apply a small white line to each side of the turret represent the vehicle number:

(These are 4 tanks to a platoon stand, as they'll be part of a panzer battalion assigned to a motor rifle regiment). For 6mm, I use white number decals.
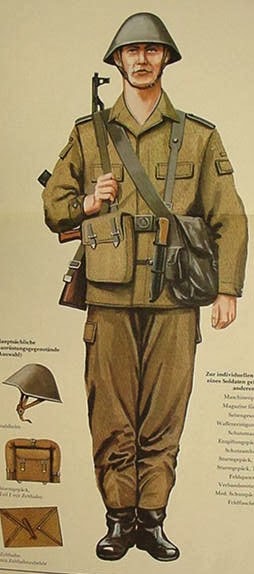
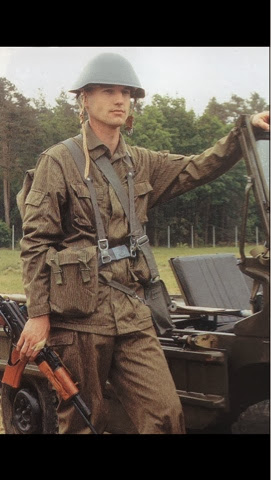
As for infantry uniforms, because of the oddly-shaped East German M56 Stahlhelm, there are no perfect choices for figures, but for 3mm, it's too small to really be an issue:
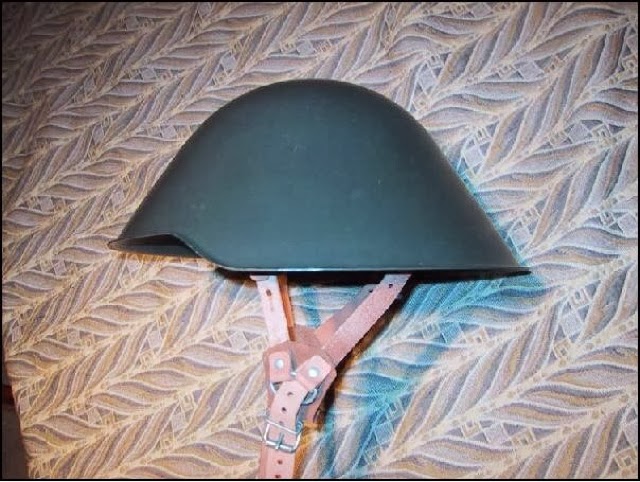
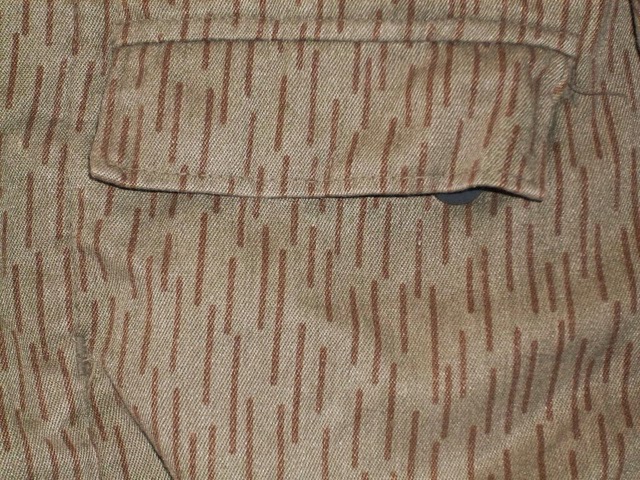
In this period, in the field, East German troops wore a uniform with a camouflage pattern called Strichtarn; a greyish khaki with small brown lines:


So, that's my method. Nothing too complicated or time-consuming. Some wargamers seem to feel that the painting itself is the hobby. But for me, I want to get these things on the table and not spend ages trying to paint pupils in their tiny eyes!!
No comments:
Post a Comment